Everyone has their unique piece of advice about How to Repair and Prevent Bathroom Water Damage?.
Water damage commonly takes place in the bathroom as a result of the water utilized day-to-day. Occasionally, the damage could be a little mold from the shower. Other times, it's large damages on your flooring. Whatever it is, it is always excellent to understand the cause as well as avoid it prior to it takes place.
This overview will certainly undergo a few of the common reasons for water damage in the shower room. We will certainly likewise analyze what you can do to stop these reasons from harming your washroom. Allow's dive in.
5 Usual Causes of Water Damage in Bathrooms
These are the common reasons you would have water damage in your restrooms and exactly how you can identify them:
Burst or Leaking Pipes
There are many pipelines carrying water to different parts of your bathroom. Some pipelines take water to the commode, the sink, the faucets, the shower, as well as lots of other locations. They crisscross the small area of the washroom.
Once in a while, these pipelines might get rustic as well as ruptured. Other times, human action can cause them to leakage. When this occurs, you'll discover water in the corners of your washroom or on the wall surface.
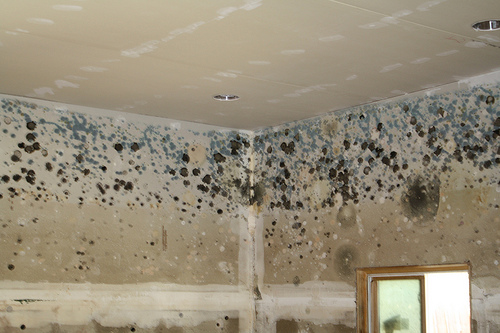
To find this, look out for gurgling wall surfaces, mold and mildews, or mildew. Call a professional emergency situation plumbing technician to repair this when it occurs.
Cracks in your wall surface floor tilesv
Washroom wall ceramic tiles have actually been specifically designed for that purpose. They shield the wall surface from moisture from people taking showers. Nevertheless, they are not unbreakable.
Sometimes, your washroom wall tiles crack as well as allow some dampness to leak right into the wall surface. This might possibly ruin the wall surface if you don't take any kind of action. If you observe a fracture on your wall tiles, fix it right away. Don't wait up until it damages your wall.
Overruning bathrooms and sinks
As human beings, sometimes we make errors that could trigger some water damage in the restroom. As an example, leaving your sink faucet on could create overruning and damage to various other parts of the restroom with dampness.
Likewise, a damaged commode could create overruning. For example, a damaged commode manage or other parts of the tank. When this happens, it might harm the flooring.
As soon as you discover an overruning sink or commode, call a plumbing professional to aid handle it promptly.
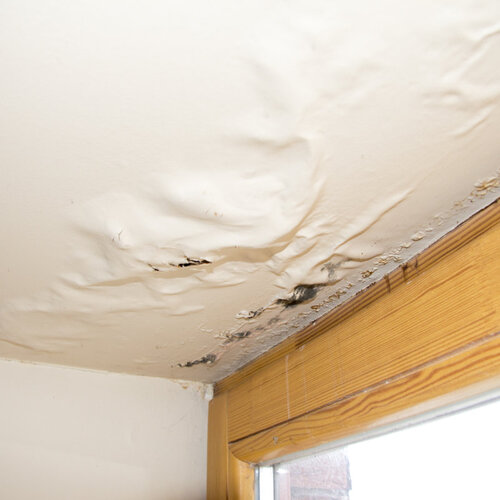
Roof Leaks
Often, the trouble of water damage to the washroom could not originate from the bathroom. For instance, a roof leakage can trigger damages to the washroom ceiling. You can detect the damages done by looking at the water stains on the ceiling.
If you discover water stains on your ceiling, check the roof to see if it's harmed. After that, call a specialist to assist fix the issue.
Excess Wetness
It's trendy to have that lengthy shower and dash water while you hem and haw and imitate you're carrying out, but sometimes these acts could trigger water damage to your restroom.
Splashing water around can cause water to head to edges as well as create molds. Watch how you spread excess moisture around, and also when you do it, clean it up to prevent damages.
Verdict
Water damage to your restroom can be frustrating. Nonetheless, you can manage it if you protect against several of the reasons stated in this guide. Call a specialist emergency plumbing if you notice any type of severe damage.
What Are The Main Causes Of Bathroom Leaks?
What Are The Main Causes Of Bathroom Leaks?
Thursday 1st September 2022 Alice Redshaw No comments, yet!
Share this page
Share on Facebook Share on Twitter Share on LinkedIn
CONTENTS
Clogged drains Burst water pipe Leak from the shower Cracks in the tiles and walls Benefits of specialist flood damage cleaning services?Accreditations Flexibility Disposal of waste Contact us now
Leaks in bathrooms are all too common, leaving you with a difficult and sometimes expensive problem to deal with.
Flood water creates several risks, such as health-related issues from exposure to contaminated water, as well as damage to the structure of the property. At ICE Cleaning, we use the latest methods and technologies to restore your property during flood restoration work - contact us today to learn more.
In this blog, we delve into why you have experienced a leak in your bathroom, and how you can prevent it.
Clogged drains
This is widely seen as one of the main causes of bathroom leaks, taking place when drains become backed-up with various substances. This could be from flushing too much toilet paper at any one time, or trying to flush materials down the toilet that are not biodegradable.
Another way drains become blocked is from hair collecting in the shower plug. Over time, this prevents water from flowing down the pipe properly, so is a task that needs to be kept on top of.
Sometimes a plunger can be enough to deal with a blockage in a backed-up toilet, but sewage water can be damaging to your health. If you're unsure of what to do in the event your toilet or shower drain is blocked, hire in the professionals to properly remediate the issue.
If you experience sewage water flowing out into the bathroom, we can help. Our technicians will thoroughly decontaminate, deep clean and sanitise the area during our sewage cleaning services. Contact our team today to find out more.
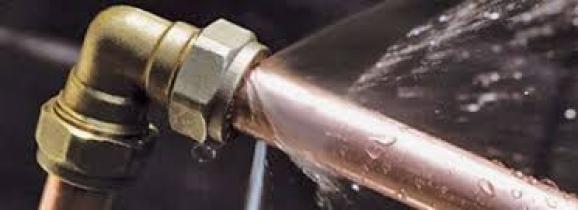
Burst water pipe
Meanwhile, a risk you run in wintertime is of your pipes bursting. This can occur should you not use heating to warm your home, as the water in the pipes increases and results in the pipe bursting.
When a pipe bursts in your bathroom, it is likely to be one below the sink unit. It is important to keep water flowing at all times of the year so the chance of it becoming frozen in the drainpipe is reduced.
This can be an expensive problem to fix, and one that you will wish to avoid. If you go away from your home for extended periods, keep your heating on for an hour or two a day, as this will make sure the pipes don't freeze from disuse.
To help customers facing this situation, we wrote a handy blog about how you can unblock a frozen drainpipe - click here to read.
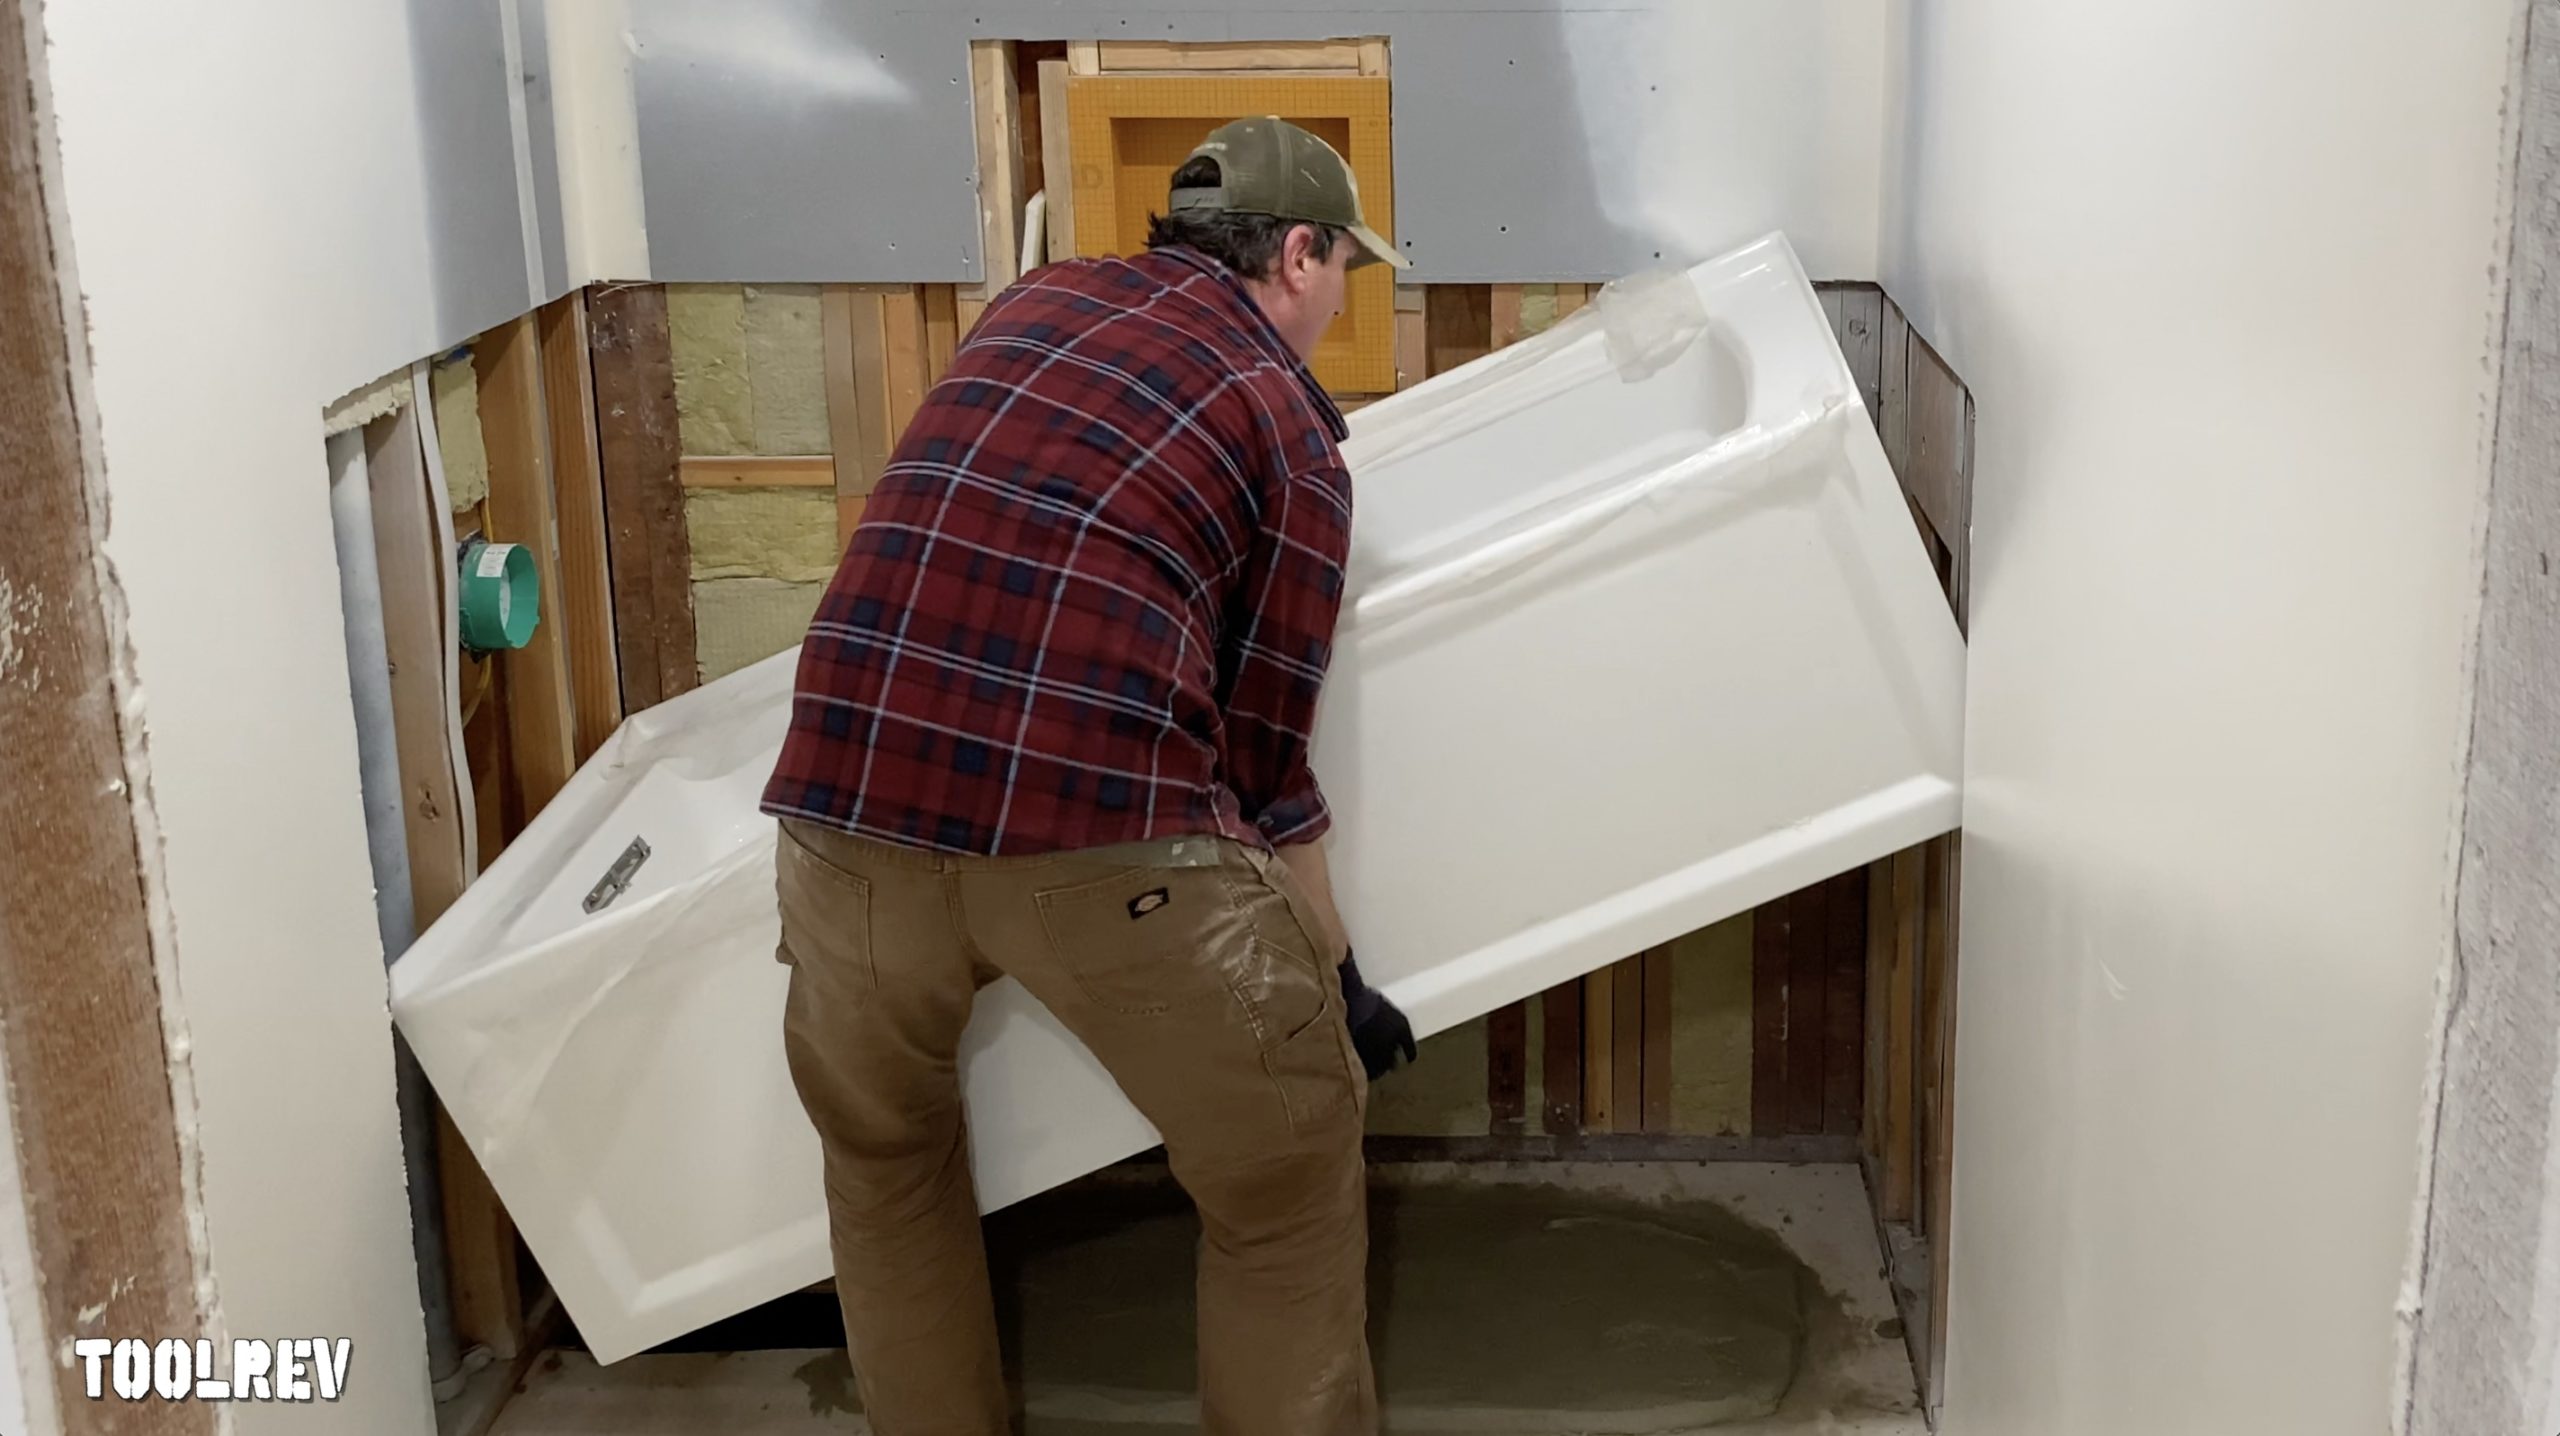
Leak from the shower
Moving onto other causes of leaks in bathrooms, leaks in showers are another leading reason. If the water is flowing rapidly out of the shower, then the floor in your bathroom can quickly begin to flood.
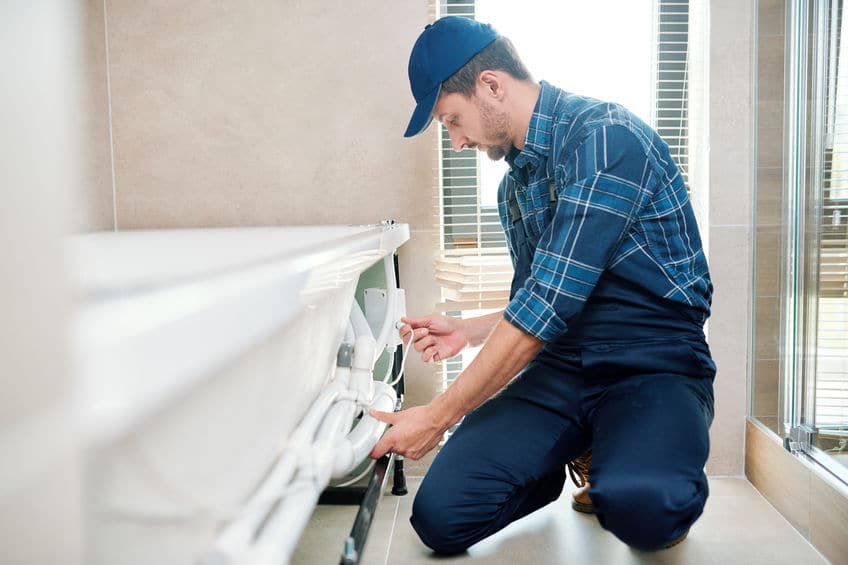
In this instance, call out a professional plumber to take a look at the issue. They will be able to address the problem, identifying its origin. It could be a problem with the way the shower has been fitted, or something that is beyond your control.
When you notice a leak, it is recommended that you turn off water in the property. This may be difficult if you live in a rented property, in which case you should get in touch with your emergency line to see what your best route forward is.
For any lingering smells or flood damage, we're ready to assist. With extensive knowledge of the industry, our flood damage cleaning specialists can be on site within an hour in emergencies.
Cracks in the tiles and walls
Any cracks in the tile and walls can result in bathroom leaks as well, such as where the grout or caulking has become damaged.
Carry out regular inspections within your bathroom to make note of any destruction while it is still in its early stages. The sooner you can have the problem fixed, the sooner you can use your bathroom normally again.
Problems with the walls can be because of drywall. This can occur due to a build-up of moisture in the area, not surprising when considering how much heat is drawn out from activities such as showering and bathing.
Sometimes these problems can be quite costly, so get a professional flood damage cleaning company out as soon as possible to assess the problem. If you are in rental accommodation, speak with your landlord or letting agent about having someone come out to fix the problem for you.
https://www.icecleaning.co.uk/blog/what-are-the-main-causes-of-bathroom-leaks

I'm very focused on How to Repair and Prevent Bathroom Water Damage? and I really hope you enjoyed our post. Be sure to take the opportunity to promote this article if you enjoyed reading it. Thanks for taking the time to read it.
Schedule A Service
:max_bytes(150000):strip_icc()/adhesive-type-tub-and-shower-surround-2718959-hero-22d394dc48de474a988eeaad88e9d7b0.jpg)